How to Winterize Faucets: Essential Steps to Prevent Freezing
Winter is a beautiful season, but it can be tough on your home’s plumbing. When temperatures fall below freezing, water inside pipes and faucets can freeze. This causes the pipes to expand, and sometimes even burst. Repairing frozen or burst pipes is expensive and stressful. One simple way to avoid this is to winterize your faucets before the cold hits. Many homeowners know the basics, but effective winterization means more than just turning off a valve. In this guide, you’ll learn every step, common mistakes, and some practical tips that even experienced people often overlook.
Why Winterizing Faucets Matters
Faucets exposed to cold air—like those in your garden, garage, basement, or exterior walls—are especially at risk. When water inside these faucets or pipes freezes, it expands. This can crack the metal or plastic, leading to leaks or floods once the ice thaws. According to the Insurance Information Institute, burst pipes are among the top five causes of home insurance claims in the US, costing homeowners over $10,000 per incident on average.
But the good news is that proper winterization can reduce your risk to almost zero. It takes less than an hour, and you don’t need expensive tools.
Which Faucets Need Winterizing?
Not all faucets are equally at risk. Focus on:
- Outdoor faucets (garden, hose bibs)
- Basement faucets connected to outside walls
- Garage or shed faucets
- Outdoor kitchen or bar sinks
Indoor faucets in heated rooms usually don’t need winterizing, unless they’re on exterior walls with poor insulation.
Essential Tools And Supplies
Before you start, gather these items:
- Adjustable wrench
- Bucket or large bowl
- Old towels
- Pipe insulation foam or covers
- Faucet covers (styrofoam or insulated types)
- Screwdriver (if your system requires it)
- Teflon tape (optional, for leaks)
Some systems might need a key for the water shut-off valve. If you don’t have one, check your local hardware store.
Step-by-step Guide: How To Winterize Faucets
Let’s break down the process into clear steps so you can follow along confidently.
1. Locate Your Outdoor Faucets
Walk around your home and find every exterior faucet. Don’t forget ones in hard-to-see places, like behind bushes or under decks. Many people miss a faucet or two, which can be a costly mistake.
2. Find The Shut-off Valves
Most modern homes have shut-off valves for every outdoor faucet. These are usually inside, close to where the pipe passes through the wall. You might find them:
- In the basement ceiling
- In crawl spaces
- Near the main water line
If your home is older and doesn’t have shut-off valves for outdoor taps, you may need to install them or use other methods (covered later).
3. Turn Off The Water Supply
Turn the shut-off valve clockwise until it stops. This blocks water from flowing to the outdoor faucet. If you have trouble turning it, use an adjustable wrench, but don’t force it—this could break the valve.
4. Open The Outdoor Faucet
Go outside and turn the faucet handle fully open. This lets any remaining water in the pipe drain out. Keep it open for the next steps.
5. Drain Any Remaining Water
Some water can still be trapped in the pipe, especially if it slopes down. To remove this:
- Place a bucket under the faucet
- Go back inside to the shut-off valve. If there’s a small drain cap (bleeder valve) on the side, open it. Water should trickle out. Use a towel to catch any drips.
- Leave both the faucet and drain valve open for at least 10 minutes.
Pro tip: Tap the pipe lightly with the handle of your screwdriver. This can help any stubborn water drops fall out.
6. Close The Drain Valve, But Leave Faucet Open (optional)
If your shut-off valve has a drain cap, close it when water stops flowing. Some experts recommend leaving the outdoor faucet slightly open all winter so pressure can’t build up if a small amount of water remains. Others close it fully for a neater look.
Either way, never leave the shut-off valve open.
7. Remove And Store Hoses
Disconnect any garden hoses, splitters, or attachments. Even a hose with just a small amount of water can freeze, split, and cause back-pressure that damages your faucet. Coil the hoses and store them in a shed or garage where they won’t freeze.
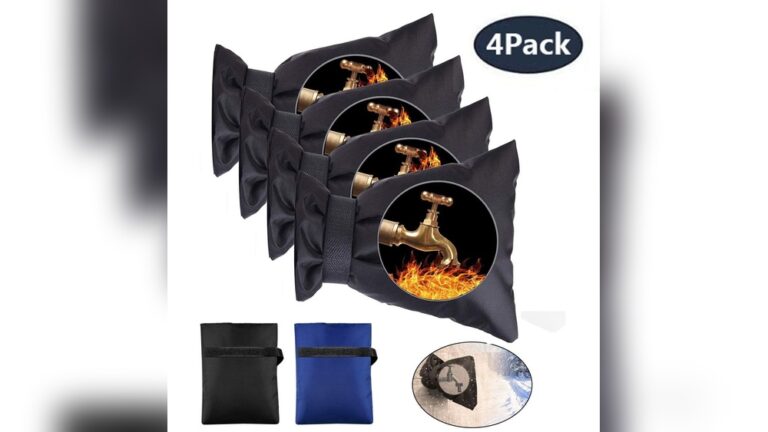
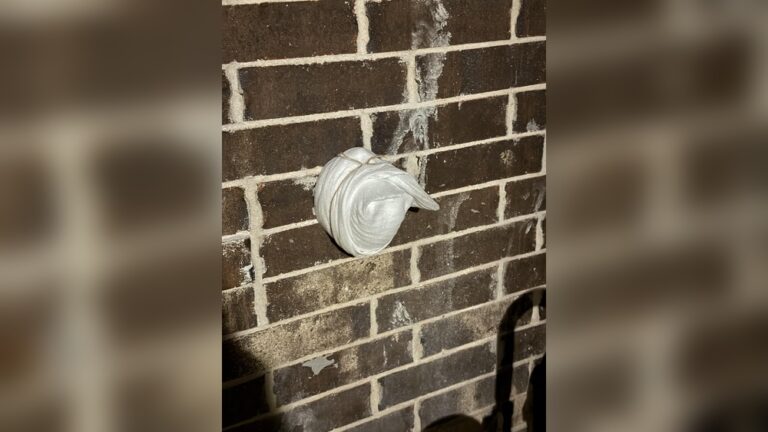
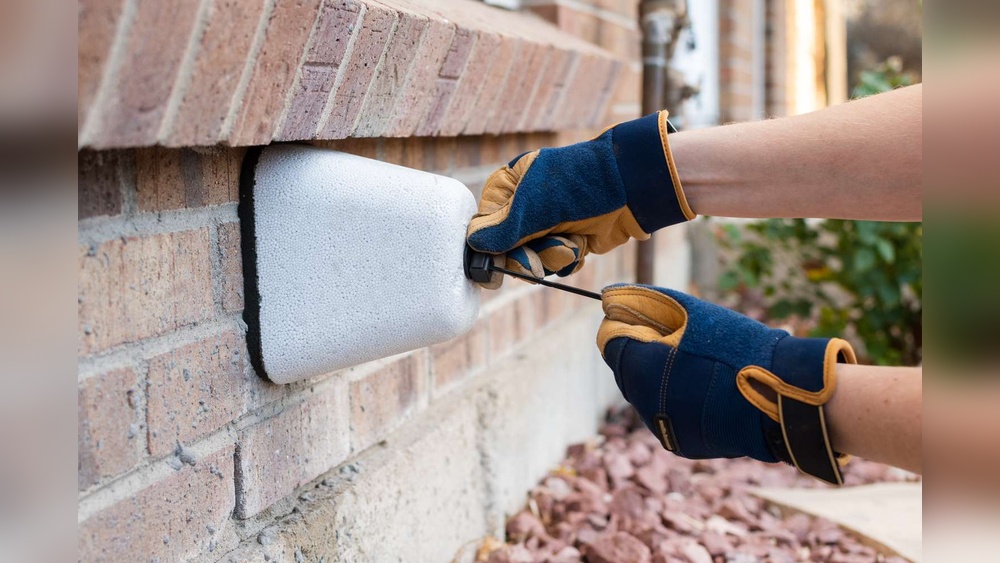
8. Add Faucet Covers Or Insulation
To add extra protection, cover your outdoor faucets with insulated faucet covers. These are usually made of foam or hard plastic and are easy to install. They cost less than $10 each and can make a big difference for older faucets.
If you don’t have a cover, wrap the faucet with old towels and secure them with plastic bags and tape. This isn’t as good as a real cover, but it’s better than nothing.
9. Insulate Exposed Pipes
If any of your pipes are visible (such as in a basement, crawl space, or along an outside wall), wrap them with pipe insulation foam. These foam tubes are cheap and easy to cut with scissors. Secure them with duct tape if needed. Focus on pipes closest to exterior walls.
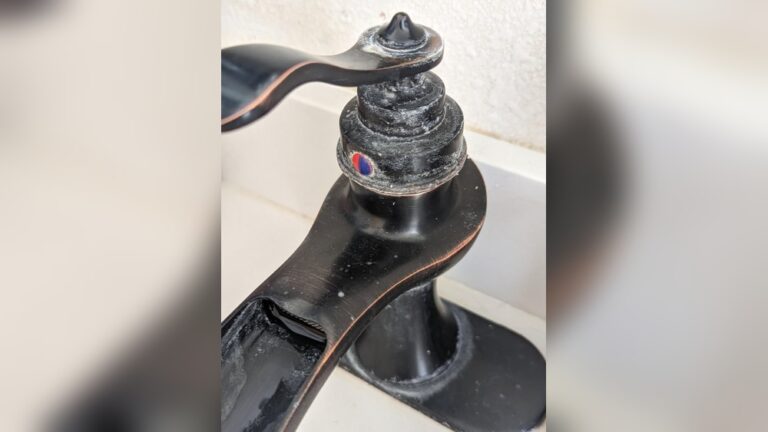
10. Check For Leaks
Once you’ve finished, check for drips or leaks at the shut-off valve, faucet, or drain cap. Leaks can let water in, undoing your efforts. Use Teflon tape if needed to seal threads.
11. Repeat Every Year
Winterization isn’t a one-time task. Do it every fall, before the first freeze. Mark your calendar or set a phone reminder so you never forget.
Special Cases And Extra Tips
Homes Without Shut-off Valves
Some older homes don’t have a shut-off valve for outdoor faucets. In this case:
- Use a faucet insulator cover for extra protection.
- Insulate exposed pipes leading to the faucet.
- Consider adding a shut-off valve, or ask a plumber for advice.
- In emergencies, you might have to turn off the main water supply for the whole house during a deep freeze.
Frost-free Faucets
Some homes have frost-free faucets. These are designed so the shut-off is actually inside the warm part of your home, not outside. They are safer, but you still need to:
- Remove hoses and attachments
- Add a faucet cover for extra protection
- Check that the faucet slopes downward (so water drains out)
Using Heat Tape
If your pipes or faucets are very exposed, consider using electric heat tape. This is a special tape that warms pipes to prevent freezing. It’s best for homes in extremely cold areas or pipes that can’t be insulated well.
Monitoring Temperature
Install a thermometer near your most at-risk faucet. If the temperature drops below 32°F (0°C), double-check your winterization steps.
Non-obvious Insights
- Leaving hoses attached can cause interior pipe bursts, even if the faucet is off. Many people forget this and only focus on the outside.
- Bleeder valves are often missed—they are tiny, but draining them is crucial for full protection.
- Faucet covers alone are not enough if you do not shut off the water supply.
- Pipe insulation works best when the pipe is dry—install it after draining, not before.
- Antifreeze is NOT recommended for regular home water systems. It can contaminate your water and is unsafe for drinking.
Comparison: Frost-free Vs. Standard Faucets
Here’s how these two types compare in terms of winter risk and maintenance:
| Feature | Frost-Free Faucet | Standard Faucet |
|---|---|---|
| Risk of Freezing | Low (when installed correctly) | High (needs winterizing) |
| Winterizing Needed | Minimal (remove hose, use cover) | Full process (drain, shut off, cover) |
| Installation Cost | Higher | Lower |
| Longevity | Longer (less damage risk) | Shorter (if not protected) |

Credit: www.youtube.com
Common Mistakes To Avoid
Even careful homeowners can make errors. Here are the most frequent pitfalls:
- Forgetting to disconnect hoses—This traps water and can crack pipes inside the house.
- Not draining bleeder valves—A small amount of water left can freeze and expand.
- Waiting too long—Winter storms can come early. Start before temperatures drop below 40°F (4°C).
- Relying only on faucet covers—Covers are helpful but don’t stop water from freezing inside pipes.
- Missing hidden faucets—Check behind shrubs, under decks, or in garages.
- Not checking for leaks after shutting off water.
How To Winterize Specialty Faucets And Fixtures
Sometimes you have more than just standard faucets. Here’s how to handle a few common variations.
Irrigation Systems
- Turn off the water supply to the irrigation system.
- Open all valves and drain the pipes.
- If possible, blow out remaining water with an air compressor (ask a professional if unsure).
Outdoor Showers
- Shut off the supply valve inside the house.
- Open the shower tap to drain water.
- Cover the shower head and controls with insulation or a bag.
Water Features And Fountains
- Drain all water completely.
- Remove and store pumps indoors if possible.
- Cover exposed pipes and features.
Pool Fill Faucets
- Shut off water supply and drain lines.
- Cover faucet with insulation.

Credit: www.acehiplumbing.com
Cost Of Not Winterizing: Real Data
Failing to winterize can be expensive. According to the National Association of Home Builders, the average repair cost for burst pipes is between $5,000 and $15,000 (including water damage, mold remediation, and pipe repair). In some cases, insurance may not cover the full cost if you didn’t take steps to prevent freezing.
In 2021, the Texas winter storm caused over $15 billion in insured losses, much of it from frozen pipes. Simple winterization could have prevented many of these claims.
How To Tell If Your Pipes Or Faucets Are Already Frozen
Sometimes, you forget or the weather changes suddenly. Here are signs your faucet or pipe might be frozen:
- No water comes out when you open the tap
- You hear strange noises (like bubbling or banging)
- The pipe feels very cold or has frost on it
If you suspect a freeze, do not use a flame to thaw pipes. Instead, use a hair dryer, heat lamp, or warm towels. Open the faucet so melting water can escape.
When To Call A Professional
Most winterizing tasks are DIY-friendly. But call a plumber if:
- You can’t find the shut-off valve
- Pipes are already frozen and you can’t thaw them
- You see visible cracks or leaks
- You want to add shut-off valves to an older home
A professional can also install automatic drain valves or extra insulation for hard-to-reach pipes.
Best Time Of Year To Winterize Faucets
Start winterizing at least 2-3 weeks before your area’s first expected freeze. In northern regions, this might be late September or October. In milder climates, November is usually safe. Watch local weather forecasts for early cold snaps.
/winterize-outside-faucets-2718702-07-ae0c2696cdc44fcbae9422ec3588c7e3.jpg)
Credit: www.thespruce.com
Product Comparison: Faucet Covers
There are different types of covers, each with pros and cons:
| Type | Insulation Value | Ease of Use | Cost |
|---|---|---|---|
| Foam Dome Cover | High | Very Easy | Low |
| Hard Plastic Cover | Medium | Easy | Low-Medium |
| DIY Towel Wrap | Low | Medium | Very Low |
| Heated Cover | Very High | Medium | High |
Choose a cover based on your climate and budget. In very cold areas, use foam or heated covers.
How To Protect Faucets During Sudden Cold Snaps
Sometimes, you don’t have time for full winterization. If a cold snap is coming:
- Remove hoses and attachments immediately.
- Open the faucet slightly so water can drip (moving water freezes slower).
- Cover the faucet with towels or a plastic bag.
- Use a heat lamp or portable heater in the area if possible (never leave unattended).
This is a last resort, not a full solution, but it can help during emergencies.
How To Reverse The Process In Spring
When winter ends, you’ll need to get your faucets ready for use again:
- Close the outdoor faucet (if left open).
- Open the shut-off valve inside.
- Check for leaks as water flows in.
- Reattach hoses and test water flow.
If you find any drips or low water pressure, check for damage and call a plumber if needed.
Water Conservation And Safety
Winterizing faucets is not just about preventing damage. It also helps you save water by stopping leaks, and protects your home from mold and mildew caused by burst pipes. Always use safe materials, and never use automotive antifreeze in any faucet or pipe that connects to your drinking water system.
Additional Resources
For more detailed information on preventing frozen pipes, you can visit the U.S. Department of Energy.
Frequently Asked Questions
What Happens If I Forget To Winterize My Outdoor Faucets?
If you skip winterizing, water in the pipes can freeze, expand, and cause the pipe or faucet to burst. This often leads to leaks, water damage, and expensive repairs. Sometimes, you won’t notice the problem until the ice thaws and water starts to flow again.
Can I Use Faucet Covers Alone To Protect My Faucets?
Faucet covers help, but they aren’t enough by themselves. If water remains in the pipe, it can still freeze and cause damage, even with a cover. Always shut off and drain the water before adding a cover for best protection.
Is It Safe To Use Antifreeze In Outdoor Faucets?
No. Never use automotive or RV antifreeze in faucets or pipes connected to your home’s water supply. These chemicals are toxic and can contaminate drinking water. Proper draining and insulation are safer and more effective.
What If My House Doesn’t Have Shut-off Valves For Outdoor Faucets?
You can still insulate the faucet and exposed pipes, but this isn’t as reliable. Consider having a plumber install shut-off valves for each outdoor faucet. Until then, use heavy-duty covers and check pipes frequently during cold weather.
How Do I Know When To Start Winterizing Faucets Each Year?
Begin winterizing at least two weeks before your area’s first expected freeze. Check local weather forecasts and don’t wait for a hard freeze. Early action is always safer and can prevent costly problems.
Taking the time to winterize your faucets can save you from headaches, high bills, and water waste. With these steps, you’ll be ready for whatever winter brings—confident that your home is protected and your plumbing safe.