How to Install Freestanding Tub Faucet on Concrete Slab Easily
Installing a freestanding tub faucet on a concrete slab can transform a bathroom into a modern and luxurious space. But the process is not as simple as connecting standard plumbing fixtures. You need to plan carefully, use the right tools, and pay close attention to detail. Many DIY enthusiasts underestimate the complexity of working with a concrete floor, which can lead to leaks, unstable faucets, or even damage to the tub. This guide will walk you through every step, from planning and preparation to the final checks, ensuring your installation is solid, safe, and stylish.
Understanding Freestanding Tub Faucets And Concrete Slab Challenges
Freestanding tub faucets, also called floor-mounted faucets, stand alone next to your bathtub. They are popular for their dramatic look and flexibility in bathroom design. Unlike wall-mounted or deck-mounted faucets, these fixtures require water supply lines to come up through the floor—often a concrete slab in modern homes or condos.
Concrete slabs are strong and durable, but they pose unique challenges:
- Cutting or drilling concrete is time-consuming and requires special tools.
- Mistakes can be costly to fix.
- Accessing plumbing after the floor is finished is difficult.
Knowing these challenges before you start helps you avoid common pitfalls.
Planning Your Installation
Before you buy your faucet or break out the tools, spend time planning. Good planning saves time, money, and frustration.
Choose The Right Faucet
Not every freestanding faucet is suitable for a concrete slab install. Look for these features:
- High stability base: The base should be wide and sturdy.
- Flexible water connections: Some faucets come with flexible hoses for easier connection.
- Quality finish: Choose finishes like brushed nickel or chrome for durability.
Check Local Plumbing Codes
Every area has its own plumbing rules. Some codes require specific types of shut-off valves or backflow prevention. Always check your local requirements before purchasing materials.
Locate Your Water Supply
Find out where your hot and cold water lines run under the slab. You may need to consult your home’s blueprints or use a pipe locator tool. If you’re unsure, consider hiring a plumber for this step.
Plan Your Faucet Placement
Decide where your tub will sit and where the faucet will stand. Measure carefully:
- Keep the faucet close enough to reach the tub but far enough to allow cleaning.
- Check the manufacturer’s recommended distance from the tub edge.
- Allow space for movement and future maintenance.
A common mistake is placing the faucet too far, causing water to splash outside the tub.
Gathering Tools And Materials
Having the right tools is essential. Here’s what you’ll typically need:
- Freestanding tub faucet kit
- Water supply rough-in kit (for concrete floors)
- Hammer drill with masonry bits
- Concrete saw (for major work)
- Pipe wrenches
- Level
- Measuring tape
- Pipe insulation
- PVC or PEX pipes (as per code)
- Pipe cement or appropriate connectors
- Pipe clamps and anchors
- Safety gear (gloves, goggles, mask)
- Bucket or vacuum (for debris)
- Marker or chalk
Some specialized kits are designed for slab installations and include stable mounting plates and brackets. These are highly recommended.
Preparing The Site
Proper site preparation is critical for a strong, leak-free installation.
Marking The Location
Mark the exact spot for the faucet’s base using a measuring tape and marker. Double-check that it lines up with the tub and allows for easy access.
Clearing And Cleaning The Area
Remove any flooring materials (tile, vinyl, etc. ) Above the concrete where you’ll work. Clean away dust and debris, as a clean surface helps achieve a stable installation.
Locating And Marking Water Lines
If you have access from below (for example, if the slab is above a basement), mark exactly where to bring the supply lines up. Otherwise, you may need to cut into the concrete.

Credit: www.reddit.com
Running Water Supply Lines Through Concrete
This is one of the most challenging steps, as it involves working with the concrete slab itself.
Cutting Or Drilling The Concrete
If your supply lines are not already in place, you’ll need to create channels or holes.
- Measure and mark: Use your plan to mark the path for hot and cold lines.
- Drill pilot holes: Use a hammer drill with a masonry bit to start.
- Cut channels (if needed): For wider pipes or multiple lines, use a concrete saw.
- Vacuum debris: Keep the area clean to avoid mistakes or injury.
Tip: Always check for existing pipes or wires before cutting. Use a pipe locator or consult building plans.
Installing The Water Lines
For most modern installations, PEX piping is preferred due to its flexibility and ease of use. However, local codes may require copper or another material.
- Lay pipes in the channels.
- Insulate the pipes to prevent heat loss and condensation.
- Secure with pipe clamps or anchors.
- Seal any gaps with concrete patch after pipes are in place.
Connecting Shut-off Valves
Install shut-off valves at the connection points. These allow you to turn off water to the faucet without shutting down the whole house—a real lifesaver during repairs.
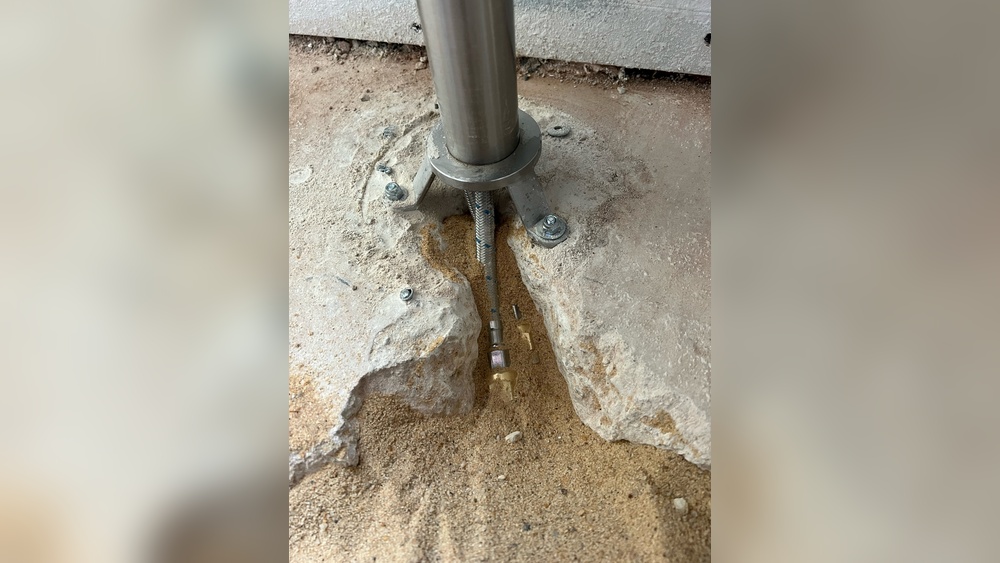
Setting The Faucet Mounting Bracket
The mounting bracket is the foundation for your faucet. Proper installation ensures your fixture won’t wobble or leak.
Positioning The Bracket
Align the bracket with your marked location. Use a level to ensure it sits flat.
Anchoring To The Concrete
Drill holes for the anchors using a masonry bit. Insert concrete anchors (usually provided with the rough-in kit), then secure the bracket with bolts. Tighten firmly, but don’t overtighten and crack the concrete.
Checking Stability
Press and wiggle the bracket to ensure it’s solid. If there’s any movement, add additional anchors or check for debris under the bracket.
Attaching The Faucet To The Plumbing
With the bracket and pipes in place, you can attach the faucet.
Making The Connections
- Attach supply lines: Connect the hot and cold supply lines to the faucet using the fittings provided.
- Apply thread sealant: Use plumber’s tape or sealant on threaded connections to prevent leaks.
- Tighten connections: Use two wrenches—one to hold the fitting, one to tighten. This prevents stress on the pipes.
- Check alignment: The faucet should stand straight and be aligned with the tub.
Securing The Faucet
- Bolt the faucet to the mounting bracket as per manufacturer instructions.
- Double-check for stability: The faucet should not move when touched.
Testing For Leaks
Before closing up, turn on the water supply and test for leaks at all connections. Use a dry cloth to check for moisture. If you find a leak, turn off the water, tighten the connection, and retest.
Sealing And Finishing The Concrete
Once you’re sure there are no leaks and the faucet is stable, you can repair any cuts or holes in the concrete.
Filling Channels Or Holes
- Mix concrete patch as per the instructions.
- Fill the channels: Use a trowel to pack the concrete around the pipes.
- Smooth the surface: Level the patch with the surrounding floor.
- Allow to cure: Wait the recommended time before walking on or covering the area.
Reinstalling Flooring
If you removed tile or another floor covering, reinstall it around the faucet base. Use a water-resistant grout or sealant to prevent moisture problems.
Final Checks And Adjustments
Testing Faucet Operation
Turn the water on and operate the faucet. Check for:
- Smooth movement of handles/levers
- Steady water flow
- No drips or leaks
Inspecting For Secure Installation
Push gently on the faucet to confirm it’s solid. Any movement means you need to check your anchors or mounting bracket.
Cleaning Up
Clean away any construction dust, fingerprints, or sealant residue. Polish the faucet with a soft cloth.
Documenting The Installation
Take photos of your finished work and keep any manuals or warranty information. This can help if you need to make repairs or sell your home.
Cost And Time Estimates
Installing a freestanding tub faucet on a concrete slab is a significant project. Here’s a comparison to help you plan:
| Step | DIY Cost (USD) | Pro Cost (USD) | Time (DIY) | Difficulty |
|---|---|---|---|---|
| Faucet Kit | $200–$800 | $200–$800 | – | Medium |
| Rough-in Kit | $50–$150 | $50–$150 | – | Medium |
| Tools & Materials | $100–$300 | Included | – | High |
| Labor | Free | $500–$1200 | 6–12 hrs | High |
| Total | $350–$1250 | $750–$2150 | 6–12 hrs | High |
Common Mistakes And How To Avoid Them
Many DIYers run into problems that can be costly or frustrating. Here are two non-obvious issues:
1. Forgetting Expansion Joints
Concrete expands and contracts. If your water pipes are rigidly encased, movement can cause leaks. Always use flexible connectors or leave a small gap with insulation around pipes.
2. Incorrect Faucet Height
Freestanding faucets need to be the right height above the tub rim. Too low, and filling the tub is difficult; too high, and you may get splashing. Always check the manufacturer’s guide and measure with the tub in place.
Other common mistakes include:
- Not checking for leaks before patching concrete
- Over-tightening bolts and cracking the slab
- Placing the faucet too far from the tub
Choosing Between Diy And Professional Installation
While installing a freestanding tub faucet on a concrete slab is possible for experienced DIYers, it’s not for everyone. Consider these factors:
| Factor | DIY | Professional |
|---|---|---|
| Skill Required | High | Low (for you) |
| Tools Needed | Many | Pro brings tools |
| Risk of Mistakes | High | Low |
| Time Required | 6–12 hours | 3–6 hours |
| Cost | Lower | Higher |
Hiring a professional plumber is more expensive but can save you stress and prevent costly errors.
Maintenance And Care Tips
After installation, regular care ensures your faucet lasts for years.
- Clean regularly: Wipe with a soft cloth to prevent water spots.
- Check for leaks: Inspect connections every few months.
- Operate gently: Avoid forcing handles or spouts.
- Inspect floor sealant: Make sure water can’t seep into the concrete.
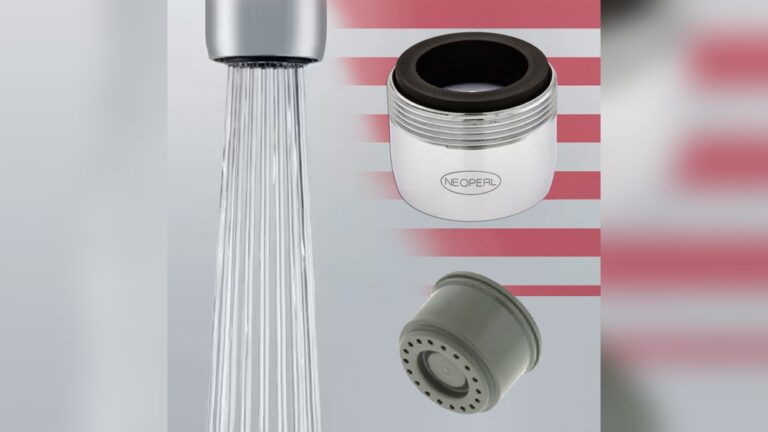
If you notice reduced water flow, mineral deposits may be clogging the aerator. Remove and soak it in vinegar, then rinse and reinstall.
When To Call A Professional
If you encounter any of these issues, don’t hesitate to call a licensed plumber:
- Can’t locate water lines
- Unfamiliar with concrete cutting
- Persistent leaks
- Building code questions
Plumbing mistakes in concrete are expensive to fix. When in doubt, get expert help.

Credit: www.rbrohant.com
Going Beyond: Upgrades And Accessories
Once your faucet is installed, you might consider these upgrades:
- Handheld shower attachment: Adds flexibility for rinsing or cleaning.
- Integrated shelf or holder: Keeps soap and shampoo within reach.
- LED spout lights: For a modern touch.
- Advanced shut-off valves: For easy maintenance.
Choose accessories that match your faucet’s finish and style for a cohesive look.
Environmental Considerations
Installing water-efficient fixtures can reduce your water usage. Look for WaterSense certified faucets, which use less water without sacrificing performance. Using PEX or insulated pipes also reduces energy loss.
If you need more guidance on eco-friendly bathroom upgrades, visit the EPA WaterSense site.

Credit: terrylove.com
Frequently Asked Questions
How Do I Find Water Lines Under A Concrete Slab?
Finding water lines can be tricky. Use a pipe locator tool or consult your home’s blueprints. If you’re unsure, a plumber can use special equipment to locate pipes without damaging the floor.
Can I Install A Freestanding Tub Faucet Without Breaking The Concrete?
If water lines are already roughed-in and accessible, you may not need to break concrete. However, most slab installations require at least minor cutting or drilling to bring supply lines to the surface.
What Type Of Pipe Should I Use Under The Slab?
PEX is popular for its flexibility and resistance to freezing, but local codes may require copper or CPVC. Always check your area’s regulations before purchasing materials.
How Do I Prevent Leaks In The Future?
Make sure to use thread sealant on all connections, tighten fittings properly, and check for leaks before finishing the floor. Insulate pipes to reduce condensation, and inspect connections regularly.
Is It Worth Hiring A Professional Plumber?
If you’re not experienced with plumbing or concrete work, hiring a professional can save time and prevent costly mistakes. They can also ensure your installation meets code.
Installing a freestanding tub faucet on a concrete slab is a challenging but rewarding project. With careful planning, the right tools, and attention to detail, you can achieve a beautiful, reliable result that will enhance your bathroom for years to come.