
How to Replace a Faucet on a Pedestal Sink Easily and Quickly
Replacing a faucet on a pedestal sink can seem intimidating, especially if you’ve never worked with plumbing before. The unique design of pedestal sinks—elegant, slim, and often compact—adds to the challenge because there’s less space to maneuver than with standard sinks.
Still, with the right approach, tools, and patience, this is a project that almost any homeowner can tackle. This guide will walk you through every step, from preparation to final cleanup, offering practical advice, highlighting common mistakes, and giving insider tips to make the process smoother.
Understanding Pedestal Sinks And Faucets
Before diving into the replacement process, it helps to understand why pedestal sinks are different. These sinks are supported by a column (the pedestal) rather than a vanity or cabinet. The plumbing—both water supply lines and the drain—is usually hidden behind this column, making access more difficult. Faucets for pedestal sinks are typically centerset or widespread, and the installation holes are pre-drilled in the sink basin.
A key point to remember: Pedestal sinks can be fragile. Porcelain and ceramic materials are prone to cracks if handled roughly. Always work carefully to avoid damaging the sink or the pedestal.
Tools And Materials You’ll Need
Gathering the right tools and materials before you begin saves time and frustration. Here’s what you’ll need for most pedestal sink faucet replacements:
- Adjustable wrench
- Basin wrench (very helpful in tight spaces)
- Phillips and flathead screwdrivers
- Plumber’s putty or silicone sealant
- Bucket or small bowl (to catch water)
- Towels or rags
- Penetrating oil (like WD-40)
- Utility knife
- New faucet (compatible with your sink)
- New supply lines (if old ones are worn or corroded)
- Plumber’s tape (Teflon tape)
- Flashlight or headlamp
If your pop-up drain assembly is also being replaced, you’ll need the new assembly and possibly a pair of slip-joint pliers.
Preparation: Safety And Access
Getting your workspace ready is one of the most overlooked steps, but it makes a huge difference:
- Clear the area. Remove everything from under and around the sink. Place a towel or blanket on the floor to protect against dropped tools or water spills.
- Shut off the water. Find the shut-off valves (usually under or behind the pedestal). Turn them clockwise until tight. If you can’t find the valves, shut off water at the main supply.
- Release pressure. Open the faucet to relieve any leftover pressure and drain water from the lines.
- Check lighting. Good visibility is essential. Use a flashlight or work light if your bathroom is dim.
Many people forget to check for old caulk or sealant around the base of the faucet or pedestal. Use a utility knife to gently cut through any sealant—this will prevent damage when removing the faucet.
Removing The Old Faucet
The process of taking out the old faucet is often the trickiest part, especially in tight pedestal spaces. Here’s how to do it with minimal stress:
1. Disconnect Water Supply Lines
Locate the flexible water supply lines beneath the sink. Using an adjustable wrench, loosen the nuts connecting the supply lines to the faucet. If they’re stuck, a spritz of penetrating oil and a few minutes of patience can help. Have your bucket ready to catch any water left in the lines.
2. Remove The Drain Rod (if Present)
If your faucet has a pop-up drain lever, disconnect it from the drain assembly. This is usually a small metal rod or clip. Set these parts aside if you plan to reuse them.
3. Loosen Mounting Nuts
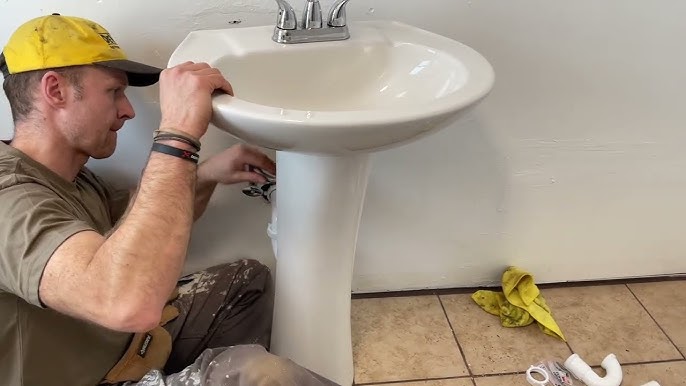
Reach up behind the pedestal (this is where a basin wrench shines) and find the nuts holding the faucet to the sink. Loosen these nuts carefully. In cramped conditions, work slowly to avoid scraping your hands or damaging the sink.
4. Lift Off The Old Faucet
Once the nuts are off, gently lift the faucet from the sink. If it sticks due to old plumber’s putty or caulk, wiggle it gently or use the utility knife to break the seal. Clean the area around the faucet holes thoroughly before installing the new faucet.
Pro tip: Take a photo of the faucet setup before removing it. This can help when installing the new one, especially if it has similar connections.
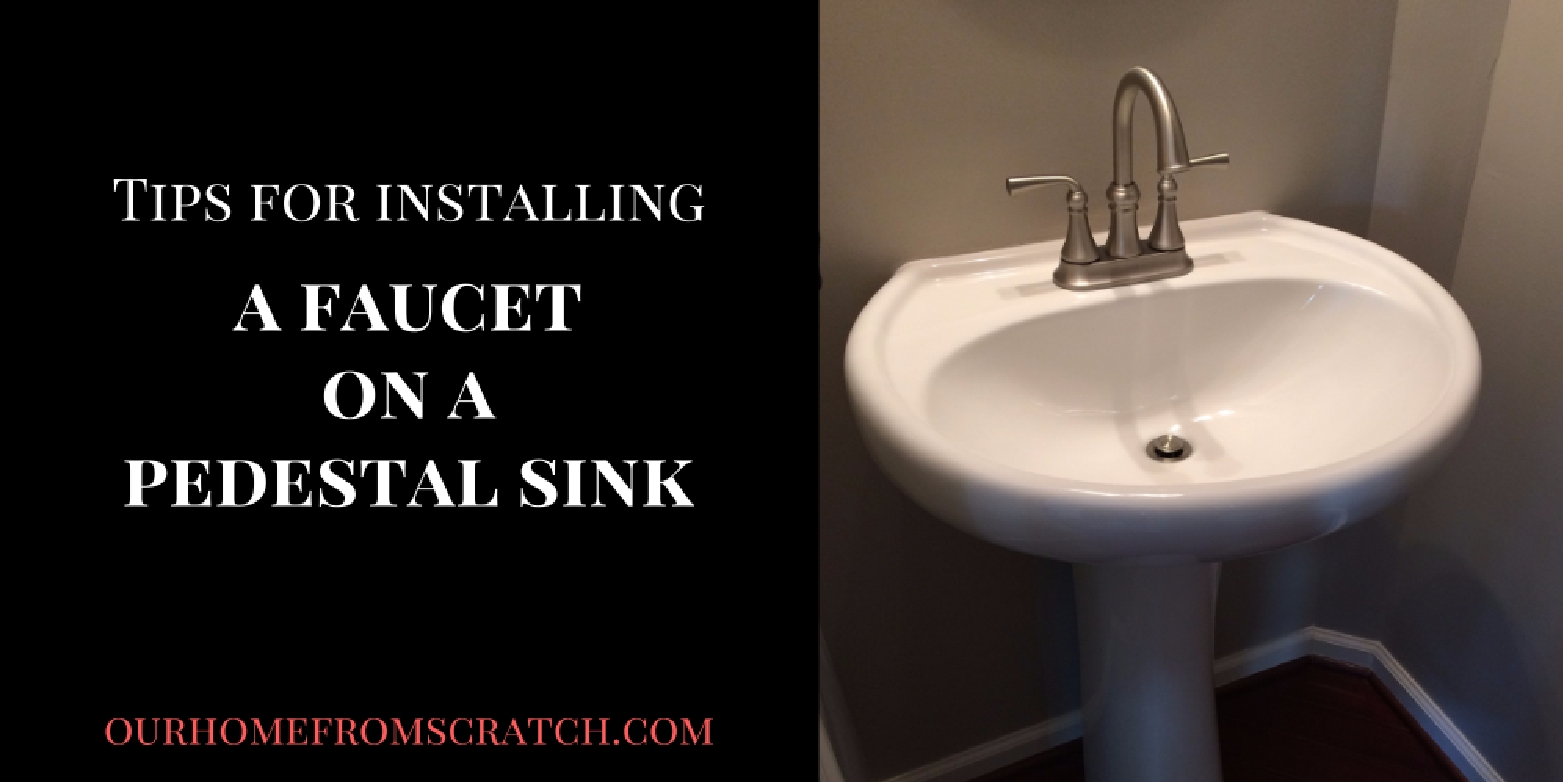
Credit: ourhomefromscratch.com
Choosing The Right Replacement Faucet
Not every faucet fits every pedestal sink. Here’s what you must check before buying a new one:
Faucet Hole Spacing
Most pedestal sinks have either a centerset (holes 4 inches apart) or widespread (holes 8 inches or more apart) configuration. Measure the holes to ensure your new faucet matches.
Height And Reach
Pedestal sinks are usually shallow. A faucet that’s too tall or with a long spout can cause splashing. Choose a faucet with a spout that clears the basin comfortably but isn’t so high that it makes a mess.
Style And Finish
While style is a personal choice, it’s smart to pick a finish that matches other fixtures in your bathroom. Chrome, brushed nickel, and matte black are common, but not all finishes are equally durable.
Water Efficiency
Many modern faucets include aerators or are certified by programs like WaterSense to reduce water usage. Consider a faucet with a low-flow option to save water and money.
Here’s a handy comparison of common faucet types for pedestal sinks:
| Faucet Type | Hole Spacing | Pros | Cons |
|---|---|---|---|
| Centerset | 4-inch | Easy to install, compact design | Limited style options |
| Widespread | 8-inch or more | Flexible style, easier cleaning | More expensive, harder to install |
| Single-Hole | One hole | Modern look, simple operation | Not compatible with most pedestal sinks |
Non-obvious insight: Some pedestal sinks were manufactured with non-standard hole spacing. Always measure before you buy!
Installing The New Faucet
With your old faucet removed and your replacement ready, it’s time for installation. This step requires patience and careful alignment.
1. Assemble Faucet (if Required)
Some faucets come in multiple pieces. Assemble as much as you can outside the sink—handles, spout, and any washers or gaskets. This saves time and avoids tricky work in tight spaces.
2. Apply Plumber’s Putty Or Sealant
Place a thin bead of plumber’s putty or silicone sealant around the base of the faucet (where it meets the sink). This helps seal out water and prevents leaks under the fixture.
Important tip: Some faucet bases use rubber gaskets instead of putty. Check your faucet’s instructions—using both can cause problems.
3. Insert Faucet Into Sink Holes
Gently lower the faucet into the mounting holes. Make sure it’s centered and straight. From below, hand-tighten the mounting nuts to hold it in place. Avoid over-tightening, as this can crack the porcelain.
4. Secure The Faucet
Use your wrench to snug the mounting nuts. It’s best to alternate between nuts to keep the faucet level. Check alignment from above as you tighten.
5. Reattach Water Supply Lines
Connect the water supply lines to the faucet shanks. If your old lines are corroded or don’t fit the new faucet, replace them. Wrap threads with plumber’s tape for a watertight seal. Tighten connections, but don’t overtighten.
6. Reconnect The Drain Assembly (if Needed)
If you replaced the drain assembly or had to disconnect the pop-up lever, reattach these parts now. Test the lever to make sure it moves freely and forms a good seal.
7. Clean Up Excess Putty Or Sealant
Wipe away any extra plumber’s putty or sealant from around the faucet base.
Insider tip: If your hands are too large for the tight space under the pedestal, try using a socket wrench extension or have a helper assist from above.
Testing For Leaks And Final Adjustments
Once everything is connected, don’t rush to put away your tools. Testing is critical:
- Open the shut-off valves slowly. Listen for any hissing or dripping.
- Turn on the faucet and let water flow for 1–2 minutes.
- Check all connections under the sink with a dry hand or paper towel. Look for moisture around supply lines, mounting nuts, and the drain assembly.
- Test the pop-up drain by filling the basin and letting it drain. Watch for leaks at both the drain and the trap.
If you find leaks, turn off the water and tighten the connections a little at a time. If leaks persist, disassemble and check for cross-threaded or misaligned parts.
Beginner mistake: Forgetting to remove the aerator (screen) before turning on the water. Sediment can clog the new faucet immediately after installation. Remove the aerator, flush the lines, and replace it after testing.
Common Problems And Troubleshooting
Faucet replacement doesn’t always go perfectly. Here are some issues you might encounter and how to solve them:
Stuck Or Corroded Nuts
Old faucets often have nuts that won’t budge. Apply penetrating oil and wait 10–15 minutes. If that fails, use a basin wrench for extra leverage, but don’t force too hard—you risk cracking the sink.
Leaking Connections
Leaks usually mean a loose connection or missing washer. Disassemble, check for debris, and reassemble with new plumber’s tape.
Faucet Sits Crooked
Loosen the mounting nuts, realign the faucet, and retighten evenly. Don’t overtighten; porcelain can crack easily.
Weak Water Flow
If water flow is poor, check that supply valves are fully open. Inspect the aerator for debris. Make sure the supply lines aren’t kinked.
Drain Assembly Doesn’t Seal
Ensure the drain washer is seated properly and the pop-up rod moves freely. Sometimes the gasket is upside down or missing.
Non-obvious insight: On some older pedestal sinks, the mounting holes are slightly uneven. Use a level to check faucet alignment before final tightening.

Credit: www.youtube.com
When To Call A Professional
Most faucet replacements are DIY-friendly, but sometimes it’s best to call in a plumber:
- If you find cracks in the sink basin or pedestal.
- If the shut-off valves won’t close or leak.
- If you notice significant corrosion on supply lines or connectors.
- If the faucet doesn’t fit due to non-standard holes.
Remember, forcing parts to fit can cause expensive damage. When in doubt, get help.
Maintenance Tips For Your New Faucet
After installing your new faucet, a little routine care will keep it working smoothly:
- Clean aerators every few months to remove debris.
- Wipe the faucet with a soft cloth; avoid harsh chemicals that damage the finish.
- Check under the sink for signs of leaks after a week and then every few months.
- If you live in a hard water area, descale the faucet regularly to prevent buildup.
Here’s a quick maintenance schedule:
| Task | Frequency | Why It Matters |
|---|---|---|
| Clean aerator | Every 3 months | Maintains water flow |
| Check for leaks | Monthly | Prevents water damage |
| Descale faucet | Twice per year | Prevents buildup in hard water areas |
Cost Breakdown: Diy Vs. Hiring A Plumber
One reason many people replace their own faucet is to save money. Here’s a basic cost comparison:
| Item | DIY Cost | Professional Cost |
|---|---|---|
| Faucet | $50–$200 | $50–$200 |
| Supply Lines/Sealant | $10–$30 | $10–$30 |
| Labor | $0 | $150–$350 |
| Total | $60–$230 | $210–$580 |
Note: Prices vary by location and faucet quality. For more on typical costs, check this HomeAdvisor guide.
Practical Tips And Tricks
- Always keep a towel under the pedestal to catch water or dropped tools.
- Label hot and cold supply lines before disconnecting to avoid confusion later.
- If your pedestal is wobbly, check that it’s properly secured to the floor and wall before reinstalling the faucet.
- Take your old faucet to the store to ensure you buy a compatible replacement.
- Don’t forget to flush the lines after installation to remove debris.
Credit: www.youtube.com
Frequently Asked Questions
How Long Does It Take To Replace A Faucet On A Pedestal Sink?
The process usually takes 1–3 hours for most DIYers. Beginners should allow extra time for learning and troubleshooting. Complex installations or stubborn old parts may add time.
Can I Replace A Faucet On A Pedestal Sink By Myself?
Yes, most people can handle this job with basic tools and careful attention to detail. The main challenges are working in tight spaces and handling delicate porcelain. If you’re not comfortable, hiring a professional is always an option.
What’s The Hardest Part Of Replacing A Pedestal Sink Faucet?
Access is the biggest challenge. The narrow space behind the pedestal makes reaching mounting nuts and supply lines difficult. A basin wrench and patience are your best friends.
Do I Need To Replace The Drain Assembly Too?
Not always. If your current drain is in good shape and fits your new faucet, you can reuse it. If it’s corroded or if the new faucet has a different style (especially for the pop-up lever), replace the drain assembly too.
How Do I Know If My New Faucet Will Fit My Sink?
Measure the distance between the mounting holes on your sink before buying a faucet. Check the product packaging or manual to confirm compatibility. When in doubt, bring your old faucet to the store for comparison.
Replacing a faucet on a pedestal sink may seem tricky, but with careful preparation and the right tools, it’s a manageable project for most homeowners. Take your time, double-check your work, and enjoy the satisfaction of a fresh, leak-free fixture in your bathroom.