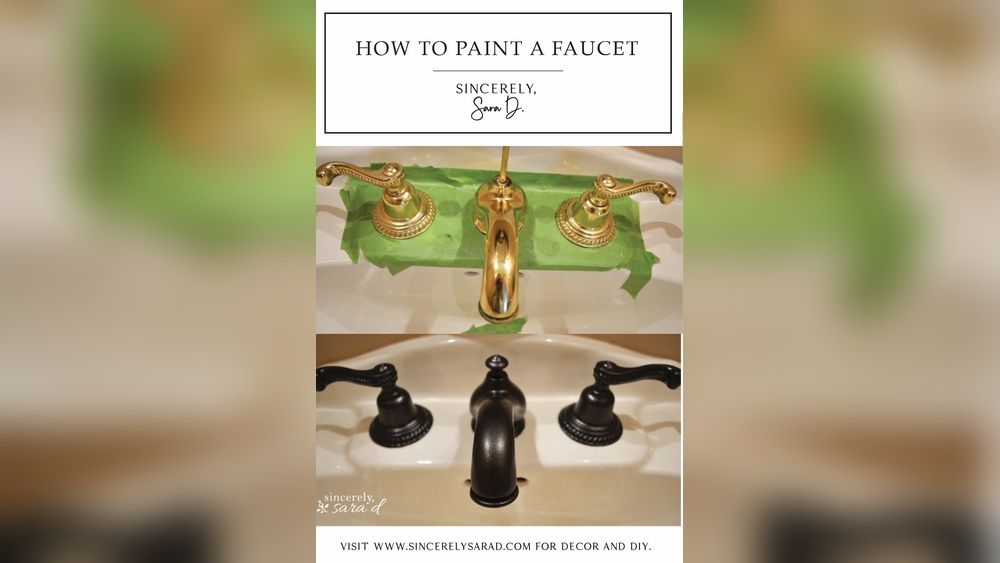
Can You Paint a Faucet? Expert Tips for a Lasting Finish
Can You Paint A Faucet
Changing the look of your bathroom or kitchen doesn’t always require a big budget or expensive renovations. Sometimes, small updates make a big difference. One question that often comes up is: Can you paint a faucet? The idea sounds simple, but there’s more to it than grabbing a can of spray paint and hoping for the best. Faucets are made to handle water, touch, and regular cleaning, so painting them needs some special care. If you want to refresh your old faucet or match it with new decor, painting can be a smart and affordable solution—if you do it right.
Let’s explore everything you need to know about painting a faucet. From the types of faucets you can paint, to the best paint to use, step-by-step methods, common mistakes, and how long a painted faucet really lasts. By the end, you’ll know exactly what to expect and whether this project is right for you.
Can You Really Paint A Faucet?
The short answer is yes, you can paint a faucet. But there are important details and limitations. Faucets are made from materials like brass, stainless steel, or chrome-plated metal. These surfaces are smooth and nonporous, which means regular paint won’t stick well. The faucet also faces water, soap, and daily use, so any paint needs to be tough.
With the right preparation, specialty paints, and proper sealing, you can give your faucet a new look that can last for years. However, not all paints or methods will work. Some results look professional, while others peel quickly. Many people are surprised to learn that hardware stores sell products made specifically for painting metal bathroom or kitchen fixtures.
Types Of Faucets You Can Paint
Not every faucet is a good candidate for painting. The material and the current finish matter a lot.
- Brass Faucets: These usually take paint well if you sand and prime them first.
- Chrome Faucets: Chrome is slick, so you need a special bonding primer and paint for metal.
- Stainless Steel Faucets: Like chrome, stainless steel needs thorough cleaning and a bonding primer.
- Plastic Faucets: Painting plastic is possible, but it’s harder to get a long-lasting finish.
- Powder-Coated Faucets: These are already painted at the factory. You can repaint them, but the surface must be scuffed and primed.
Most household faucets are made from metal with a shiny finish. The glossier the original surface, the more important it is to prep correctly.
Why Paint A Faucet?
People choose to paint faucets for several reasons:
- Cost savings: Replacing a faucet can cost $50–$300 or more, not including installation. Painting uses less money.
- Style update: Trends change. Brushed gold, matte black, and oil-rubbed bronze are popular looks. Paint can mimic these finishes.
- Matching hardware: If you update cabinet handles or lighting, painting the faucet helps everything match.
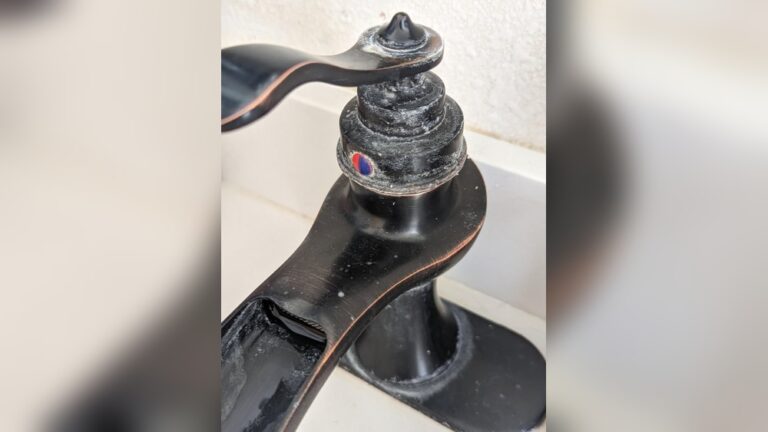
- Covering damage: Old faucets often have scratches, stains, or worn spots. Paint hides these flaws.
A painted faucet can give your space a fresh look for a fraction of the cost of buying new.
What Paint Should You Use On A Faucet?
Choosing the right paint is crucial. Not all paints will stand up to water and daily use.
Best choices for faucet painting:
- Epoxy spray paint: Specially made for metal and plumbing fixtures. It dries hard and is water-resistant.
- Automotive spray paint: Designed to stick to metal and resist chipping and heat.
- Appliance spray paint: Used for fridges, stoves, and dishwashers, it’s tough and moisture-resistant.
- Oil-based enamel: Can be used with a brush for small touch-ups, but spray gives a smoother finish.
You also need a bonding primer for metal to make sure the paint sticks. After painting, a clear sealer or topcoat helps protect the finish.
Paints to avoid:
- Latex or acrylic paints (not durable enough)
- Chalk paint (not water-resistant)
- Regular wall paint (peels off metal)

Credit: www.blesserhouse.com
Tools And Materials You Need
Before you start, gather these supplies:
- Screwdriver (to remove the faucet if possible)
- Sandpaper (220–400 grit, for scuffing the surface)
- Degreasing cleaner (removes soap, oil, dirt)
- Painter’s tape (to protect areas you don’t want painted)
- Plastic sheets or old towels (to cover the sink and counter)
- Bonding primer (made for metal)
- Spray paint (epoxy, appliance, or automotive)
- Clear topcoat (optional, for extra durability)
- Gloves and mask (for safety)
Having everything ready makes the process smoother and less stressful.
Step-by-step Guide: How To Paint A Faucet
Painting a faucet is a project you can do in a weekend. Here’s how to get the best results.
1. Remove The Faucet (if Possible)
Taking the faucet off the sink is ideal. It lets you paint all surfaces and avoids mess. Use a screwdriver or wrench to disconnect the faucet. Take photos of the setup so you remember how to reattach it.
If you can’t remove the faucet, carefully cover the sink and surrounding areas with plastic sheets and painter’s tape.
2. Clean Thoroughly
Any dirt, grease, or soap will ruin the paint job. Use a strong degreasing cleaner (dish soap works in a pinch). Scrub all areas, including tight spots.
Rinse and let dry completely. If water stays on the surface, the paint won’t stick.
3. Sand The Surface
Sand the entire faucet with 220–400 grit sandpaper. The goal is to scuff the glossy finish so primer and paint can grip. Don’t skip this step—it’s key for durability.
Wipe away dust with a damp cloth and let dry.
4. Tape Off Areas
Use painter’s tape to cover any parts you don’t want painted—like the sink, handles, or wall behind the faucet. Take your time with this. Clean lines look professional.
5. Apply Bonding Primer
Spray or brush on a thin layer of bonding primer made for metal. This step helps the paint stick and last longer.
Let the primer dry fully (check the label—usually 1–2 hours).
6. Paint The Faucet
Shake your spray paint well. Hold the can about 8–10 inches away from the faucet. Spray in light, even coats. It’s better to do 2–3 thin coats than one thick one (prevents drips).
Let each coat dry completely before adding another (usually 30–60 minutes).
7. Add A Clear Topcoat
For extra protection, spray a clear topcoat made for metal. This helps prevent scratches and water damage.
Let the topcoat dry for at least 24 hours.
8. Reinstall The Faucet
Once everything is dry and hard, remove the tape and reattach the faucet. Run water to make sure there are no leaks.
Your faucet now has a new look! Avoid scrubbing or using harsh cleaners for a week to let the paint fully cure.
Common Mistakes To Avoid
Painting a faucet isn’t hard, but simple errors can ruin your results. Here are mistakes beginners often make:
- Skipping prep work: Failing to clean or sand the faucet means the paint will peel.
- Using the wrong paint: Regular spray paint or latex won’t last on metal.
- Applying thick coats: Thick paint runs and chips easily. Thin layers are stronger.
- Not using primer: Primer isn’t optional—especially for shiny metal.
- Rushing drying times: If you handle or reinstall the faucet too soon, the paint can smudge.
- Ignoring ventilation: Spray paints contain fumes. Always work in a well-ventilated space or outdoors.
One non-obvious insight: Even if you use the right paint, hard water and daily scrubbing can wear down the finish over time. Avoid using abrasive sponges on your painted faucet.
How Long Does Painted Faucet Last?
A properly painted faucet can last 2–5 years or more, depending on:
- Prep quality: Good cleaning and sanding mean better results.
- Paint type: Epoxy and appliance paints are most durable.
- Water use: Faucets in busy kitchens wear out faster than guest bathrooms.
- Cleaning habits: Gentle cleaning extends the finish; scrubbing with rough pads shortens it.
It’s important to know that painted faucets need touch-ups eventually. If you see chips or scratches, you can lightly sand and repaint just that area.
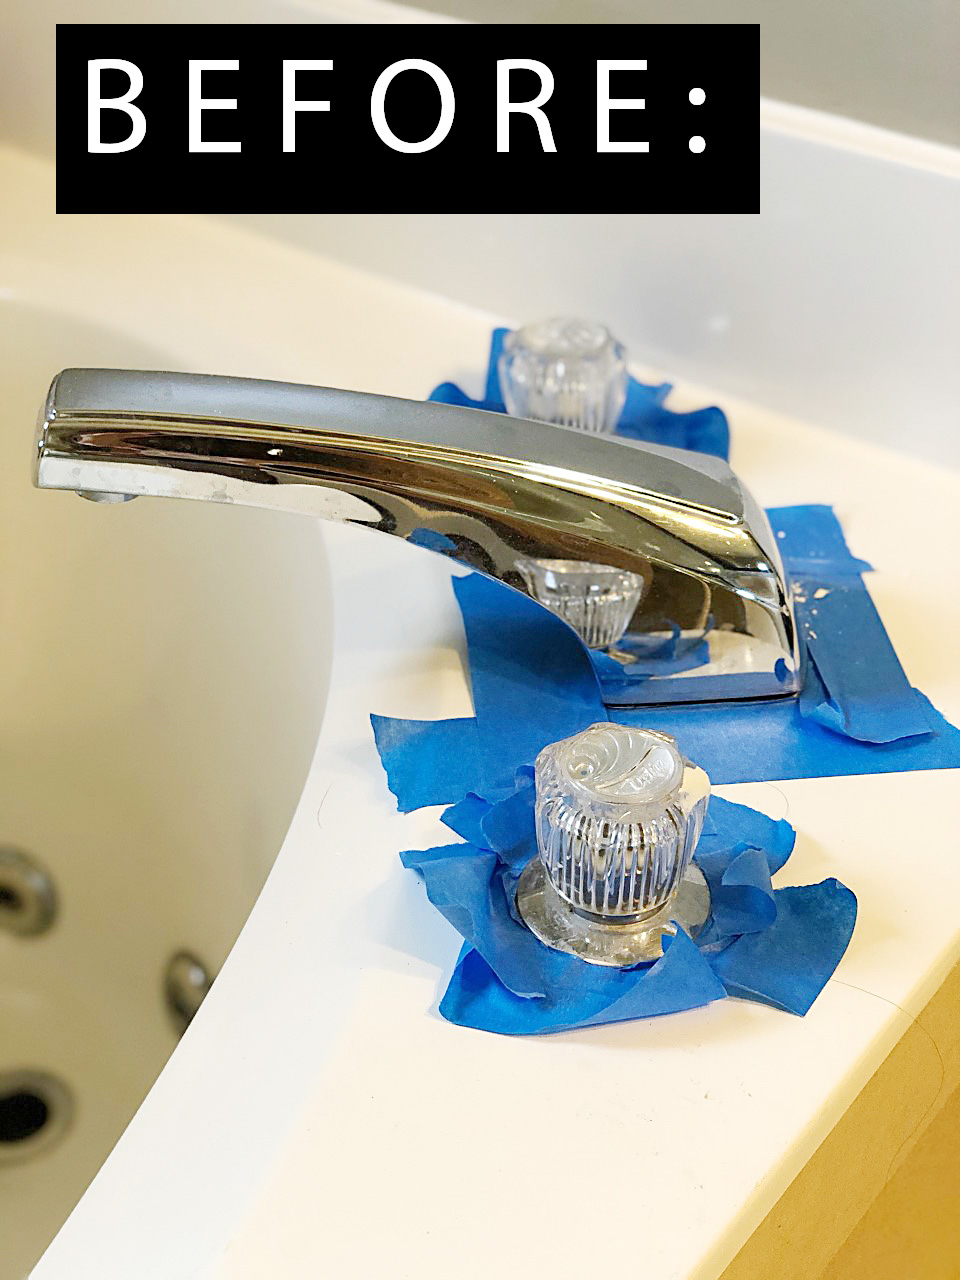
Credit: designingvibes.com
Pros And Cons Of Painting A Faucet
Here’s a clear comparison of painting vs. replacing a faucet:
| Painting Faucet | Replacing Faucet |
|---|---|
| Low cost (under $30 for supplies) | Higher cost ($50–$300+ for new faucet) |
| Quick (1–2 days) | May need plumber or DIY skills |
| Custom colors and finishes | Limited to available finishes |
| Finish may wear over time | Factory finish lasts longer |
| Good for small updates | Best for heavily damaged faucets |
Painting is a great short-term solution or style update. For permanent results, especially in high-use sinks, replacing the faucet is better.
Best Colors And Finishes For Painted Faucets
The most popular looks for painted faucets include:
- Matte black
- Brushed gold
- Oil-rubbed bronze
- Satin nickel
- White or ivory
These finishes match modern and classic decor styles. Specialty spray paints can mimic the look of metal finishes.
Pro tip: If you want a metallic look, choose a spray paint labeled “metallic” or “hammered.” These have fine metal particles that reflect light like real metal.
Diy Vs. Professional Faucet Painting
Should you paint the faucet yourself or hire a pro? Here’s a quick comparison:
| DIY Faucet Painting | Professional Painting |
|---|---|
| Costs $10–$30 in materials | Costs $75–$200 for labor |
| Project takes a few hours | Usually finished in a day |
| Results depend on your prep and skill | Results often look factory-new |
| Can match any color you like | May have limited color choices |
For most people, DIY painting is a good way to learn and save money. If you want a perfect finish, or if the faucet is expensive, a pro can use spray booths and special coatings for a longer-lasting result.
Is Painting A Faucet Worth It?
Painting a faucet is a budget-friendly way to update your space. It lets you try out new styles without a big commitment. If you’re planning a full remodel soon, painting is a smart short-term fix.
But, if the faucet is leaking, broken, or very old, replacement is a better investment. Painting can’t fix mechanical problems.
One insight: If you live in a rental, painting the faucet is only allowed if your landlord agrees. Some painted finishes can be removed with strong solvents, but not all. Always check your lease.
Comparing Painted Faucets To Factory Finishes
People often wonder if a painted faucet will look as good as a new one from the store. Here’s a quick comparison:
| Painted Faucet | Factory Finish |
|---|---|
| Can mimic expensive finishes | Real metal plating or powder-coat |
| May show brush marks or minor flaws | Smooth, even surface |
| Finish is more vulnerable to scratches | Very durable, resists wear |
| Easy and cheap to change again | Hard to change finish without replacement |
Factory finishes are more durable and easier to clean. Painted finishes require gentle care and may need retouching after a few years.
When You Should Not Paint A Faucet
There are some situations where painting is not the best choice:
- Faucet leaks or is damaged: Painting won’t fix leaks or broken parts.
- Heavily corroded faucets: Rust or pitting under the paint will get worse.
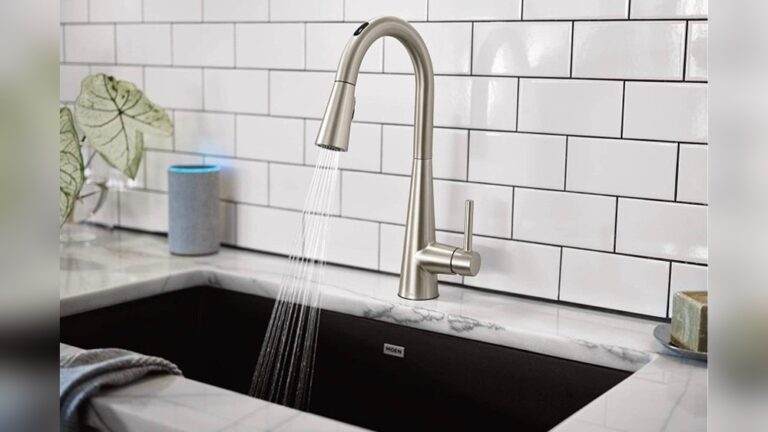
- Touchless or electronic faucets: Sensors and electronics can be damaged by paint.
- Drinking water faucets: Some paints are not food safe.
- Rental properties (without permission): Always check your lease or ask your landlord.
If your faucet has any of these problems, replacing is safer and more effective.
Real-world Examples
Many homeowners have had success painting faucets and sharing their results online. For example, DIYers have turned shiny chrome faucets into modern matte black using appliance epoxy spray. Others have matched their faucet to new hardware by using oil-rubbed bronze spray paint.
One insight beginners miss: The key to a great-looking result is patience. Rushing through cleaning, sanding, or drying leads to peeling and chips. Most DIYers who are happy with their painted faucet spent extra time on prep and used thin, even coats.
Maintenance Tips For Painted Faucets
To keep your painted faucet looking good:
- Clean with a soft cloth. Avoid abrasive pads or harsh scrubbing.
- Use mild soap and water. Don’t use bleach or strong chemicals.
- Dry after each use to prevent water spots.
- Reapply clear topcoat if you notice dull spots or scratches.
- Touch up chips as soon as you see them—sand lightly and spray again.
With gentle care, a painted faucet can keep its fresh look for years.
Environmental And Safety Considerations
Painting a faucet uses chemicals that can affect your health and the environment.
- Ventilate your workspace: Open windows or work outside.
- Wear gloves and a mask: Protect your skin and lungs from fumes.
- Dispose of paint cans properly: Check local rules for hazardous waste.
Most spray paints and primers contain volatile organic compounds (VOCs). Choose low-VOC products if possible for less environmental impact.
For more on safe painting practices, check the U.S. Environmental Protection Agency’s advice at EPA Safer Choice.
Alternatives To Painting A Faucet
If painting isn’t right for you, consider these options:
- Replace with a new faucet: More expensive, but long-lasting.
- Install faucet covers or skins: Removable covers in different finishes.
- Use peel-and-stick films: Not as durable but easy to remove.
- Polish existing finish: Sometimes, scratches can be buffed out for a fresh look.
Each method has pros and cons. Painting is the best choice for most DIYers who want a budget-friendly update.
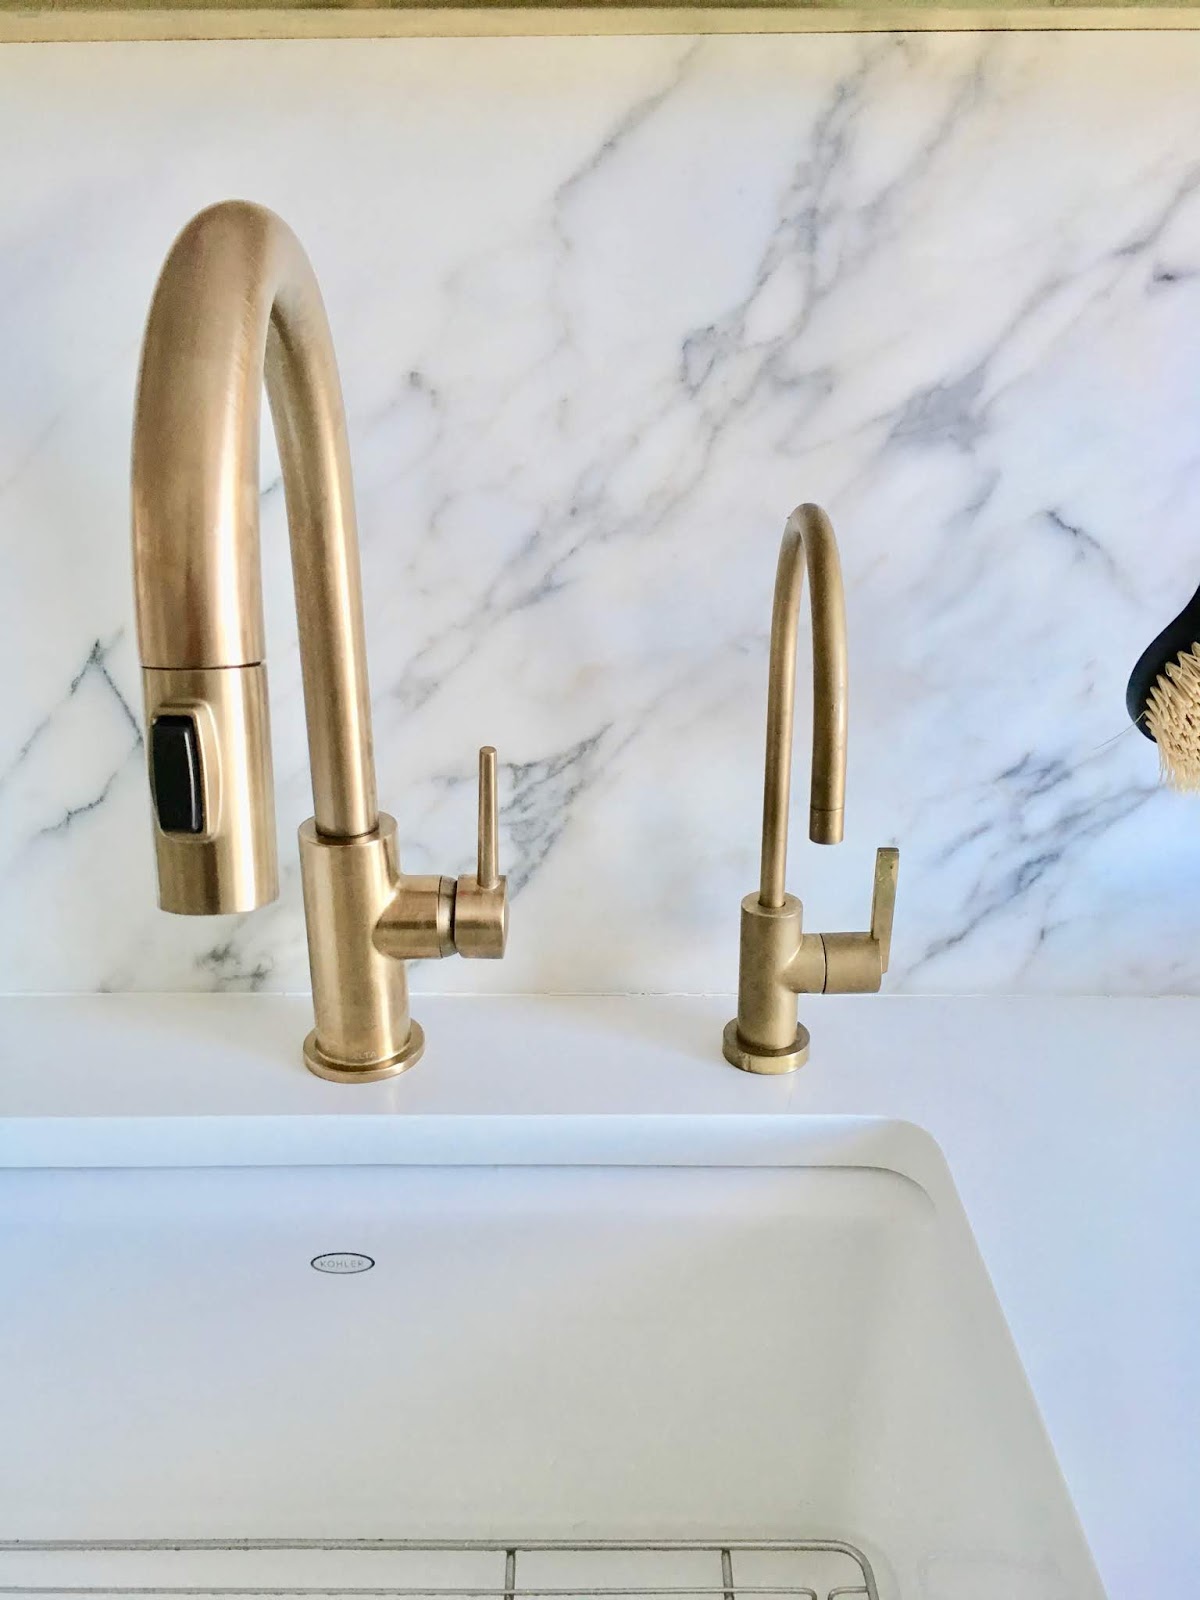
Credit: renov8or.blogspot.com
Frequently Asked Questions
How Long Does It Take To Paint A Faucet?
Most projects take 1–2 days. Prep, priming, and painting can be done in a few hours, but drying times between coats and before reinstalling are essential. Let the final topcoat cure for at least 24 hours for best durability.
What Kind Of Paint Is Best For Faucets?
Epoxy spray paint, appliance spray paint, or automotive spray paint are top choices. Always use a bonding primer first, and finish with a clear protective topcoat for best results.
Will The Paint Chip Or Peel Off With Use?
If you prepare the surface well and use the right products, the paint can last several years. High-use faucets or rough cleaning may cause chips. Touch up small areas as needed to keep the finish looking good.
Is Painting A Faucet Safe For Drinking Water?
Most faucet exteriors do not touch drinking water, so it’s usually safe. However, avoid painting inside the faucet or aerator. Use paints labeled as non-toxic and made for kitchen and bathroom use.
Can I Paint A Faucet Without Removing It?
Yes, you can paint a faucet without removing it, but you’ll need to carefully tape and cover surrounding areas to avoid overspray. Removing the faucet gives better results but is not required for a good outcome.
Giving your faucet a new look with paint is a smart and creative DIY project. With the right tools, patience, and care, you can transform your kitchen or bathroom without spending much. Just remember: prep work is everything, and gentle cleaning will keep your painted faucet looking fresh for years.