How to Change Jacuzzi Tub Faucet: A Step-by-Step Guide
Replacing a faucet on a jacuzzi tub can seem like a big job, but with the right guidance, it’s manageable for most homeowners. Faucets wear out over time or may not match your bathroom’s style anymore. Sometimes, leaks or faulty handles make replacement a necessity.
Whatever the reason, learning how to change a jacuzzi tub faucet saves money and gives you the satisfaction of a job well done.
Many people think changing a jacuzzi faucet is much harder than a standard bathtub faucet. While there are a few extra steps, the process is very similar, especially if you have access to the plumbing. The key is to go step-by-step and avoid rushing.
This guide explains everything you need—from choosing the new faucet to the final checks after installation. You’ll also find tips that can save you time and help you avoid common mistakes.
Understanding Your Jacuzzi Tub Faucet
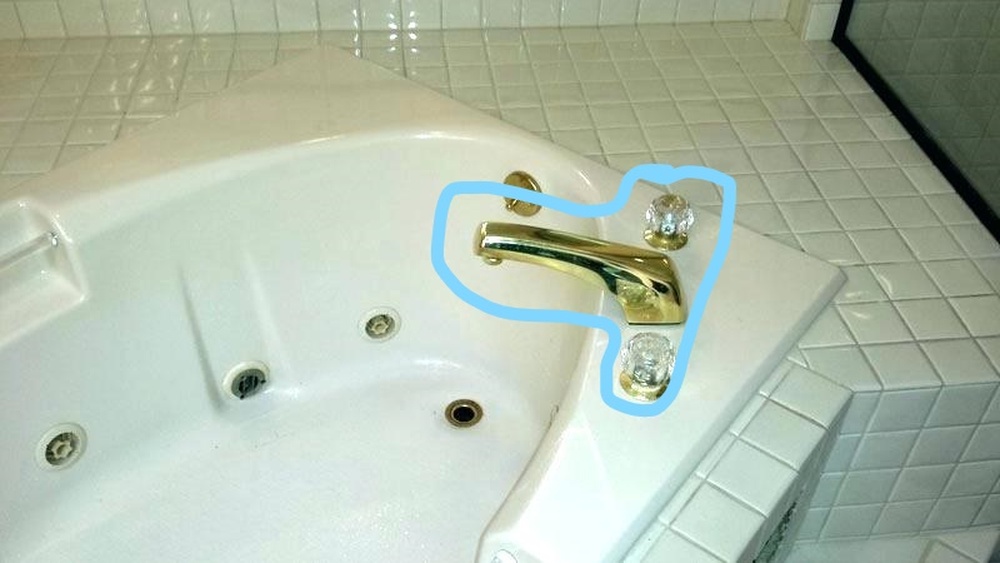
Before starting, it’s important to know what type of faucet you have. Jacuzzi tubs often use deck-mount faucets, which sit on the rim of the tub, or wall-mount faucets, attached to the wall above the tub. The access to plumbing can be from behind the tub, below (through an access panel), or sometimes the wall in the next room.
Why Faucet Type Matters
Not every faucet fits every jacuzzi tub. Deck-mount faucets require holes in the tub’s rim, while wall-mounts need plumbing in the wall. Check the number of handles (single, double, or triple) and the distance between holes (called “centerset” or “widespread”). If you choose the wrong type, installation won’t be possible without extra work.
Common Problems Leading To Replacement
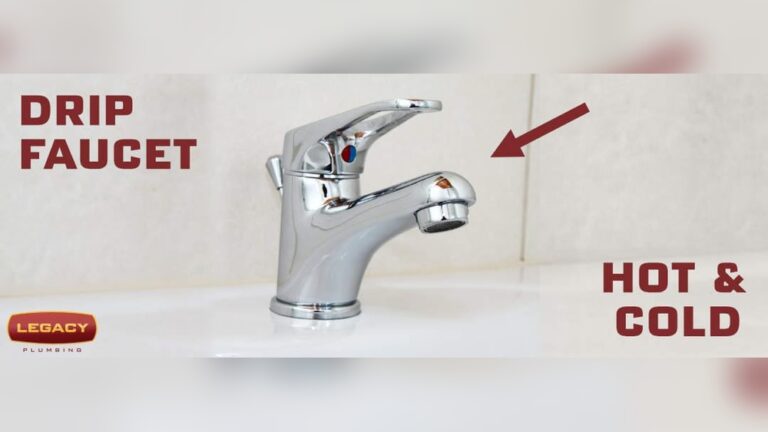
- Leaks: Worn valves, cracked handles, or corroded connections.
- Style updates: Old faucets can look out of place in a modern bathroom.
- Difficult operation: Handles that are hard to turn or spouts that wobble.
- Low water flow: Mineral buildup or damaged parts inside the faucet.
Understanding the reason for replacement helps you choose the right faucet and tools.
Tools And Materials Needed
Having everything ready before starting will make the process smoother. Here’s what you’ll need:
- Replacement faucet (make sure it matches your tub’s configuration)
- Adjustable wrench
- Screwdrivers (Phillips and flathead)
- Basin wrench (for hard-to-reach nuts)
- Plumber’s tape (Teflon tape)
- Bucket and towels
- Silicone sealant
- Flashlight
- Plumber’s putty
- Allen wrench (for set screws, if needed)
- Utility knife (for old caulk or sealant)
- Safety gloves and goggles
Many beginners forget the basin wrench and plumber’s tape—these tools make the job much easier and reduce leaks.
Choosing The Right Replacement Faucet
Selecting the correct faucet isn’t just about style. You need a faucet that matches your tub’s layout and plumbing.
Key Factors To Consider
- Mount Type: Is your faucet deck-mount or wall-mount?
- Hole Configuration: Count the number of holes and measure the distance between them (center-to-center).
- Handle Type: Do you want a single, double, or triple handle?
- Spout Reach: Ensure the spout is long enough to reach into the tub.
- Flow Rate: Jacuzzi tubs fill quickly, so look for a high flow rate—at least 10 gallons per minute (gpm) is ideal.
Example Comparison: Faucet Types
Here’s a quick comparison to help you decide:
| Faucet Type | Mount Location | Number of Holes | Typical Flow Rate (gpm) |
|---|---|---|---|
| Deck-Mount | Tub Rim | 2-4 | 8-12 |
| Wall-Mount | Wall Above Tub | 2-3 | 7-10 |
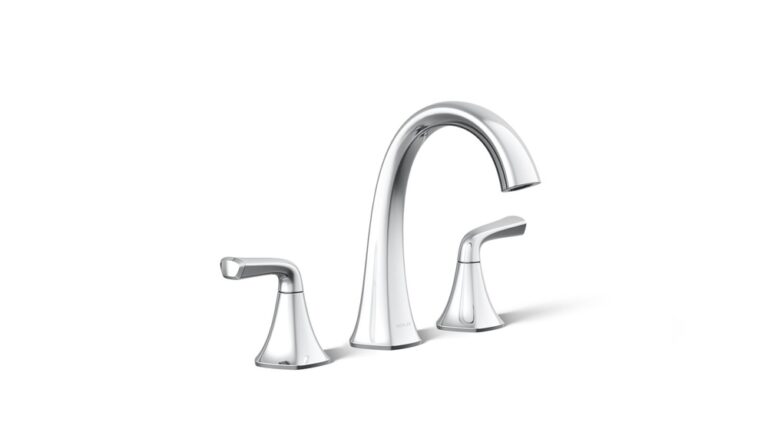
| Roman Tub | Tub Deck | 3 | 10-16 |
Roman tub faucets are common for jacuzzi tubs due to their high flow rate.
Important Tips
- Bring your old faucet or a photo to the store for comparison.
- Double-check the manufacturer’s specifications for your tub model.
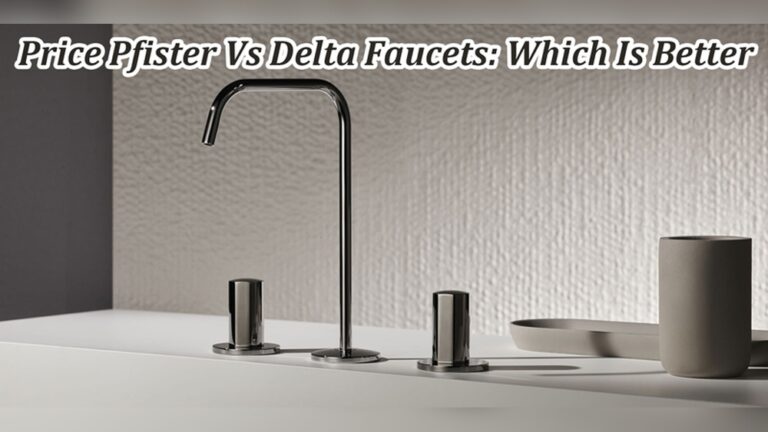
- Avoid buying the cheapest faucet—quality matters for durability and leak prevention.
How To Remove The Old Jacuzzi Tub Faucet
Removing the old faucet is sometimes the hardest part, especially if parts are corroded or access is tight. Take your time here—rushing can damage the tub or plumbing.
Step 1: Turn Off The Water Supply
Most tubs have shut-off valves nearby. If not, you may need to turn off the main water supply to the house.
- Open the faucet to relieve any pressure.
- Place towels and a bucket under the connections to catch water.
Step 2: Access The Faucet Connections
Find the access panel—this is often a small door in the wall or floor near the tub. If there’s no panel, you may need to remove a section of drywall or a cabinet panel.
- Use a flashlight to locate the faucet mounting nuts and water supply lines.
- Move any insulation or obstacles for clear access.
Step 3: Disconnect The Water Lines
- Use an adjustable wrench to loosen the supply line nuts.
- If the nuts are stuck, spray with a little penetrating oil and wait a few minutes.
- Carefully pull the supply lines away from the faucet.
Step 4: Remove The Faucet Handles And Spout
- Pop off any decorative caps with a flathead screwdriver.
- Unscrew the handle set screws with a screwdriver or Allen wrench.
- Pull handles straight off—if stuck, wiggle gently.
- Unscrew the escutcheon plates (the base covers).
- Use a basin wrench to loosen the nuts holding the faucet to the tub.
Step 5: Lift Out The Old Faucet
- Gently pull the faucet body and spout out from above the tub.
- Scrape away any old putty or silicone from the rim with a utility knife.
Example: Common Issues And Fixes
| Problem | Cause | Solution |
|---|---|---|
| Handle won’t come off | Mineral buildup | Apply vinegar, wait, and wiggle gently |
| Supply nut stuck | Corrosion | Penetrating oil, use basin wrench for leverage |
| Escutcheon won’t budge | Old caulk | Cut around base with utility knife |
Non-obvious insight: Some jacuzzi tubs have faucet mounting nuts that are hard to see or reach. A small inspection mirror and a headlamp can help you work in tight spaces.
Preparing For The New Faucet
With the old faucet out, clean the area thoroughly to ensure a good seal.
- Remove all old putty, caulk, and debris from the faucet holes.
- Wipe the area dry and check for cracks or damage on the tub surface.
Check Plumbing Condition
Before installing the new faucet, check the condition of the water supply lines and valves. If they’re corroded or damaged, replace them now to avoid leaks.
Test Fit The New Faucet
- Insert the new faucet into the holes to check alignment.
- Make sure the handles and spout will fit and operate freely.
- If adjustments are needed, make them before applying putty or sealant.
Pro tip: Always test fit before sealing. It’s easier to fix alignment problems now than after installation.
Installing The New Jacuzzi Tub Faucet
Now you’re ready to install the new faucet. The steps are similar for most models, but always follow the specific instructions provided with your faucet.
Step 1: Assemble The Faucet (if Required)
Some faucets need partial assembly before installation. Attach the spout and handles to the faucet body as directed.
Step 2: Apply Plumber’s Putty Or Silicone Sealant
- Roll a small amount of plumber’s putty or apply a bead of silicone sealant around the base of the faucet and spout.
- This prevents water from leaking under the faucet and causing damage.
Step 3: Insert Faucet Into Tub Holes
- Carefully lower the faucet through the mounting holes.
- Make sure the spout is centered over the tub and handles are in the desired positions.
Step 4: Secure The Faucet From Below
- From underneath (using the access panel), thread the mounting nuts onto the faucet shanks.
- Tighten with a basin wrench—do not overtighten, as this can crack the tub or faucet.
- Double-check alignment from above before final tightening.
Step 5: Connect Water Supply Lines
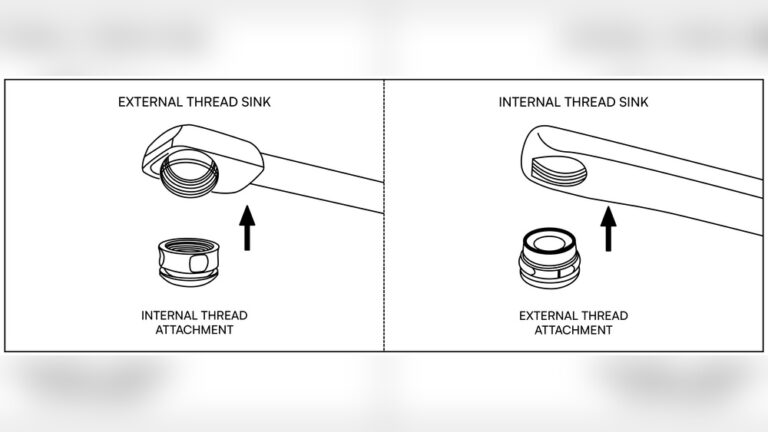
- Wrap plumber’s tape around the threaded ends of the faucet shanks.
- Reconnect the hot and cold water supply lines and tighten with an adjustable wrench.
- If using flexible supply hoses, make sure they’re not kinked.
Step 6: Install Handles And Trim
- Attach the handles to the faucet stems and secure with set screws.
- Snap on any decorative caps and screw in the escutcheon plates.
Step 7: Seal The Edges
- Apply a thin bead of silicone sealant around the base of the faucet and spout.
- Smooth with a wet finger or caulking tool for a neat finish.
Non-obvious insight: Wait at least 12 hours before using the tub to let the sealant cure. Many leaks happen because the faucet was used too soon after installation.

Credit: www.reddit.com
Testing Your New Faucet
Once the new faucet is installed, careful testing is essential to prevent water damage.
Step 1: Turn On The Water Supply
- Slowly open the shut-off valves or main water supply.
- Watch for leaks under the tub as the lines fill.
Step 2: Check For Leaks
- Inspect all connections under the tub with a flashlight.
- Look for drips around the supply lines, faucet base, and handles.
- Tighten connections slightly if you see a small leak—never overtighten.
Step 3: Run The Faucet
- Turn on both hot and cold water.
- Check the flow rate—jacuzzi tubs fill quickly if the faucet is working properly.
- Test all handles and the spout for smooth operation.
Step 4: Final Checks
- Wipe away any excess sealant.
- Close the access panel and clean up the work area.
- If you notice any problems, address them immediately before using the tub.
Safety Tips And Common Mistakes To Avoid
Changing a jacuzzi tub faucet is safe if you follow basic precautions. Here are essential safety tips and mistakes to watch for:
Safety Tips
- Always turn off the water supply before starting.
- Wear safety gloves and goggles when working under the tub.
- Use tools correctly to avoid damaging plumbing.
Common Mistakes
- Forgetting to turn off the water: This can lead to flooding.
- Choosing the wrong faucet type: Always match the hole pattern and mount type.
- Not sealing properly: Skipping putty or sealant invites leaks.
- Overtightening nuts: This cracks plastic or fiberglass tubs.
- Not checking for leaks: Even a slow drip can cause water damage over time.
Non-obvious insight: Many homeowners forget to check local building codes. In some areas, faucets near jacuzzi tubs require anti-scald valves or specific types of supply lines. Always check before installing.
Maintenance Tips For Your New Jacuzzi Tub Faucet
A little maintenance extends the life of your new faucet and prevents future problems.
- Wipe down the faucet after each use to prevent mineral buildup.
- Check under the access panel every few months for leaks or moisture.
- If you notice a drop in flow rate, clean the aerator or spout screen.
- Use gentle, non-abrasive cleaners to avoid scratching the finish.
- If handles become stiff, a small amount of silicone lubricant can help.
Regular checks and cleaning keep your faucet working smoothly for years.
Cost Breakdown: Diy Vs. Professional Installation
Many people wonder if they should hire a plumber or do the job themselves. Here’s a cost comparison:
| Option | Estimated Cost | What’s Included | Pros | Cons |
|---|---|---|---|---|
| DIY | $80–$300 | Faucet, tools, supplies | Save money, learn a skill | Takes time, risk of mistakes |
| Professional | $250–$600+ | Parts, labor, warranty | Fast, guaranteed work | Higher cost |
Tip: If your access is limited or plumbing is very old, hiring a professional may prevent costly mistakes.
Credit: www.reddit.com
When To Call A Professional
Some situations require expert help:
- No access panel and you don’t want to cut drywall.
- Old or damaged plumbing that needs replacement.
- You’re unsure about the right faucet or connections.
- You encounter leaks you can’t stop after installation.
Plumbers have tools and experience to handle these problems quickly and safely. For most straightforward replacements, though, DIY is a good option.
Troubleshooting Common Post-installation Issues
Even after a careful installation, problems can sometimes arise. Here’s how to handle them:
Low Water Flow
- Check for kinks in supply lines.
- Make sure shut-off valves are fully open.
- Clean the aerator or spout screen.
Dripping Faucet
- Confirm all connections are tight.
- Disassemble and check for misaligned washers or debris.
- If dripping continues, the cartridge or valve may be defective.
Handle Stiffness
- Remove handle and apply silicone lubricant to the stem.
- Check for mineral buildup inside the faucet.
Water Leaks Below Tub
- Inspect all joints with a flashlight.
- Tighten only as needed—do not force.
- If leaks persist, turn off water and check all washers and connections.
Non-obvious insight: Many leaks are caused by small particles or debris trapped during installation. Flush the supply lines before final assembly to prevent this.

Credit: www.youtube.com
Frequently Asked Questions
How Long Does It Take To Change A Jacuzzi Tub Faucet?
Most replacements take about 2–4 hours for a beginner, depending on how easily you can access the plumbing. If the old faucet is corroded or the access panel is difficult to reach, it might take longer.
Can I Replace A Deck-mount Faucet With A Wall-mount Faucet?
Usually, no. The plumbing for wall-mount and deck-mount faucets is very different. Changing from one type to the other requires significant plumbing work, often including opening walls or rerouting pipes.
What Should I Do If There’s No Access Panel?
If you don’t have an access panel, you may need to create one by cutting into the wall or floor behind the tub. Check for any removable panels or doors in closets or adjacent rooms first. For major changes, consider hiring a professional to avoid damaging the tub or plumbing.
How Do I Choose The Right Faucet Size For My Jacuzzi Tub?
Measure the distance between the mounting holes (center-to-center) and compare it to the new faucet’s specifications. Also, make sure the spout reach is long enough to comfortably fill the tub. Bring these measurements to the store or check online guides for compatibility.
Where Can I Find More Information On Plumbing Codes For Bathroom Fixtures?
For detailed information, visit the Plumbing-Heating-Cooling Contractors Association or your local building department’s website. Building codes vary by location and are important for safety and compliance.
Changing a jacuzzi tub faucet is a practical project that most homeowners can handle with the right tools and preparation. Take your time, follow the steps, and always test for leaks before using the tub. With patience and care, you’ll enjoy a leak-free, stylish new faucet for years to come.